Following the success of the sourdough bread from the Bread Feast, I was highly motivated to continue experimenting with sourdough breads. And so I began a more-than-month-long process of producing mostly failed loaves. Consequently, this is a sort of graveyard post for sourdough breads, if you will.
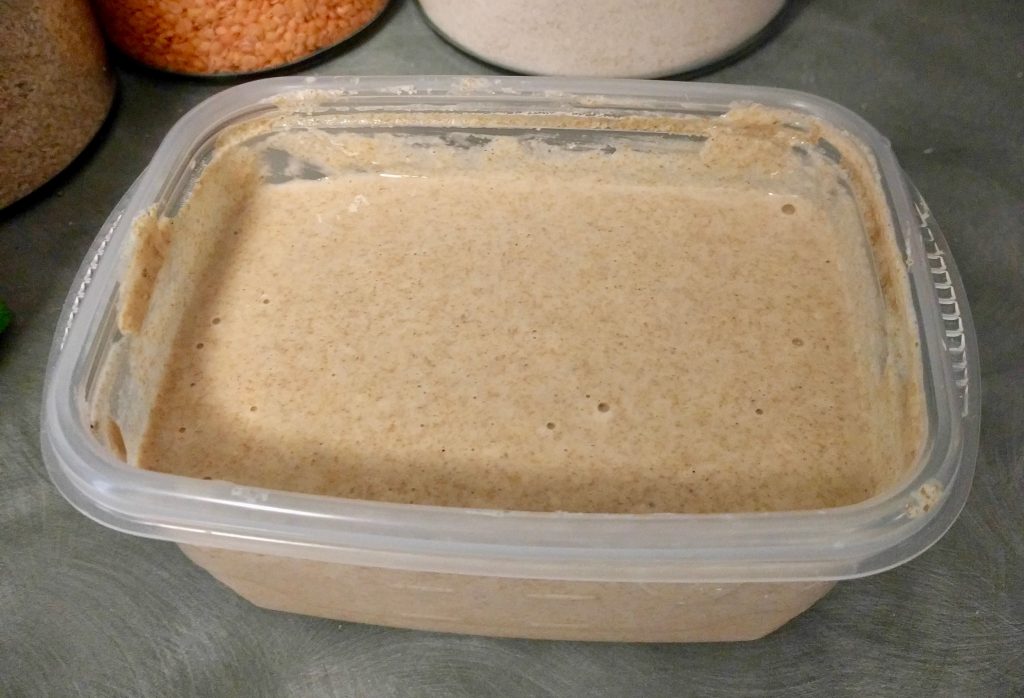
Sourdough bread is basically any bread risen with the help of natural yeast. To capture the yeast, you need a starter. You make it by mixing water and flour and leaving it a room temperature.
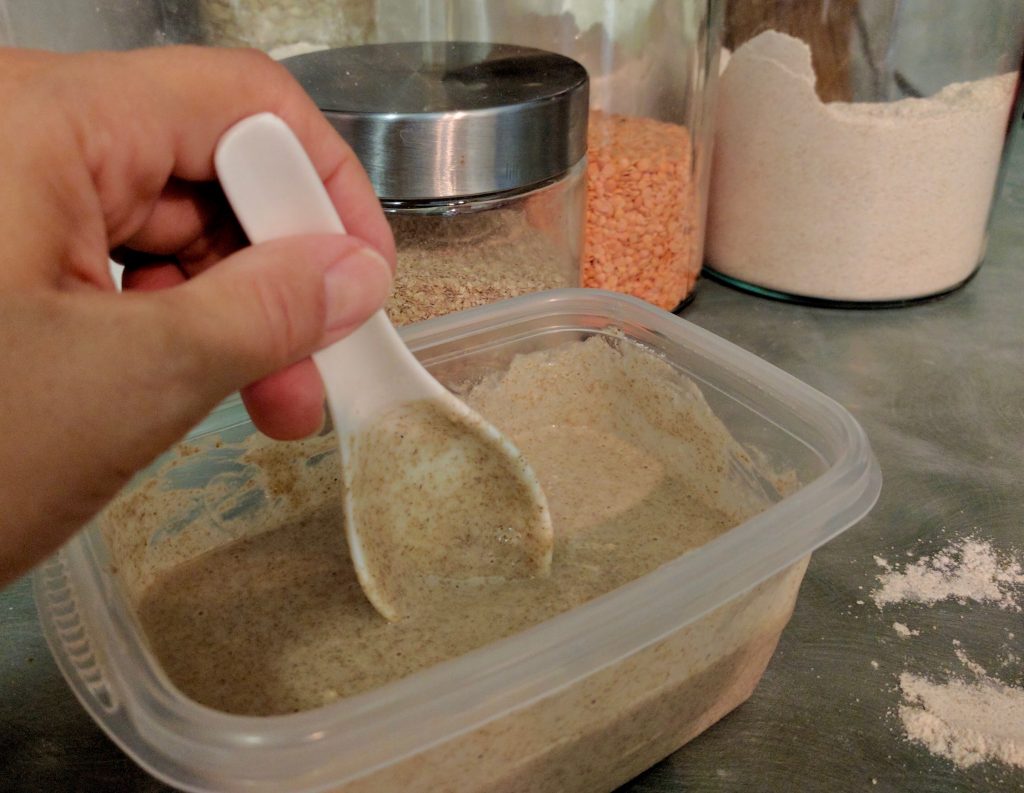
The next day, you stir in more flour and water, and you repeat this for the next few days. At some point, the starter begins to become really active. It begins to bubble and increase in volume.
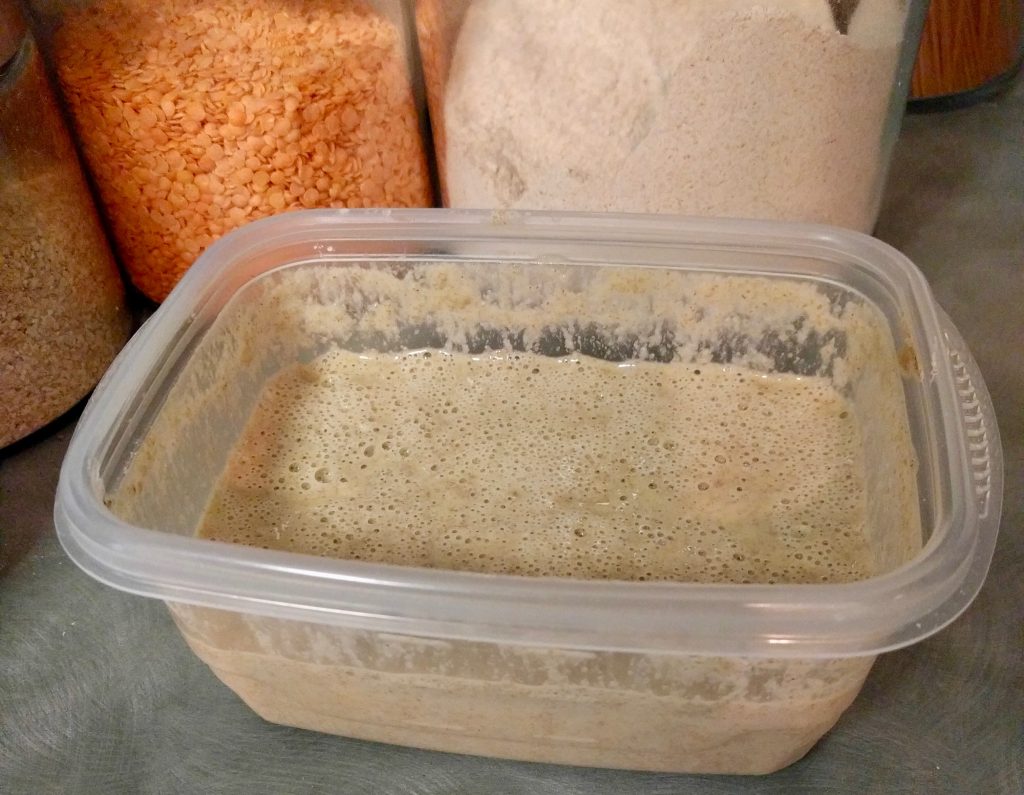
You keep adding flour and water and stirring the starter every day. At some point around day 5 or 6, the starter is ready to bake with – if you have done everything right, that is. I have a feeling that my starter is the reason for at least some of the breads in this post.
For my first sourdough loaves after the bread feast, I followed this recipe from the kitchn. During the time when the breads were rising, I got a bit worried, because they in fact seemed to be doing very little rising. But when they came out of the oven, they looked very much like the loaves in the recipe. So I took many pictures of them, before I sliced into one and was sorely disappointed. These breads were extremely dense. So dense in fact, that we gave up on trying to eat them after a slice or two.
Well, at least they looked good.
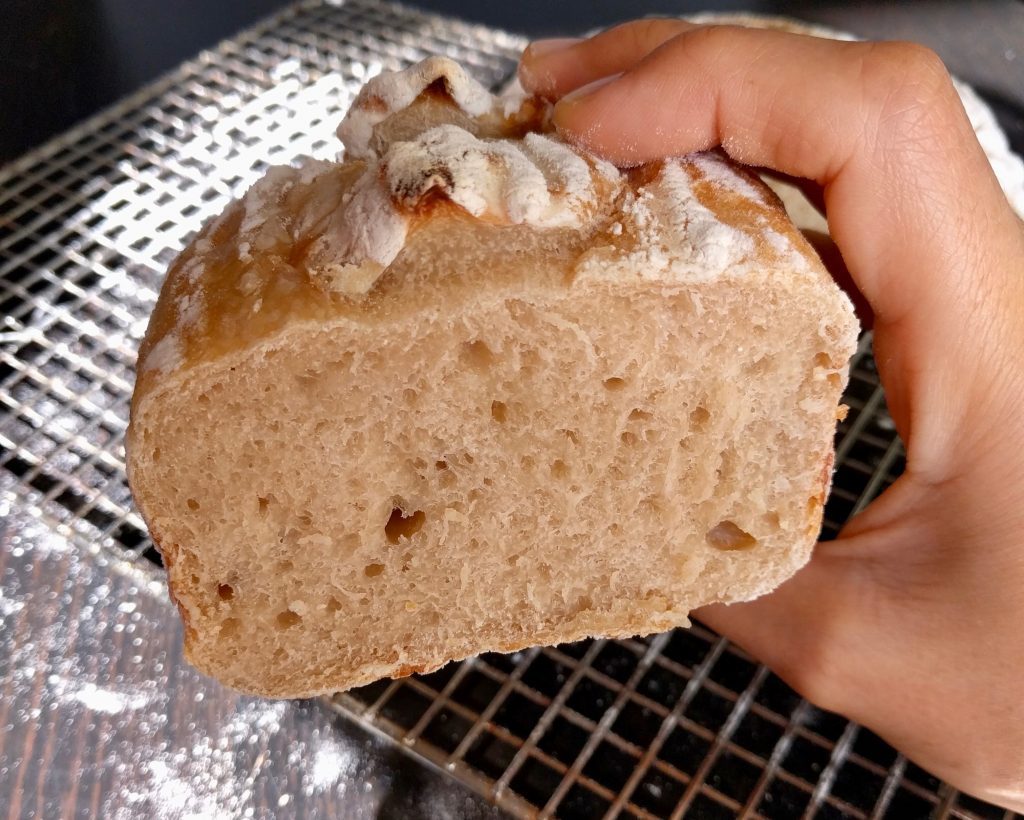
My second attempt was a bit better. I followed the same recipe again, but this time I baked the loaves in baking tins in the hope that this would help the texture development. The crust of these breads was wonderful. You can see the almost caramelized crispness in the photo below. But alas, the insides were dense and unpleasantly chewy yet again.
Trust me, it was worse than it looks.
My third and fourth attempts were complete failures – so much so that I was too angry and disappointed to even take a photo.
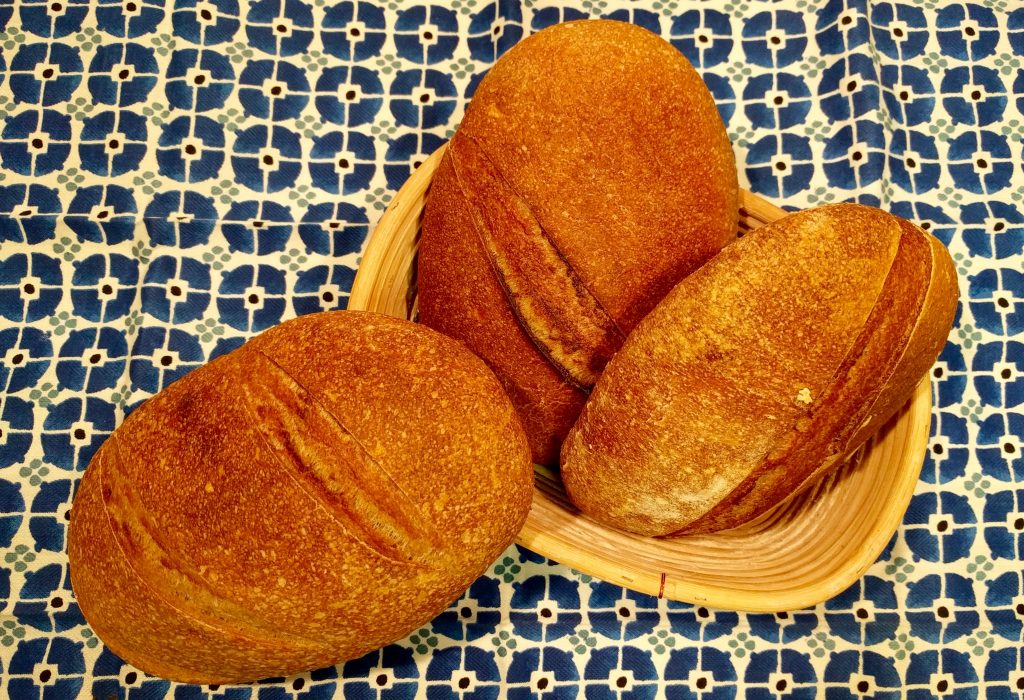
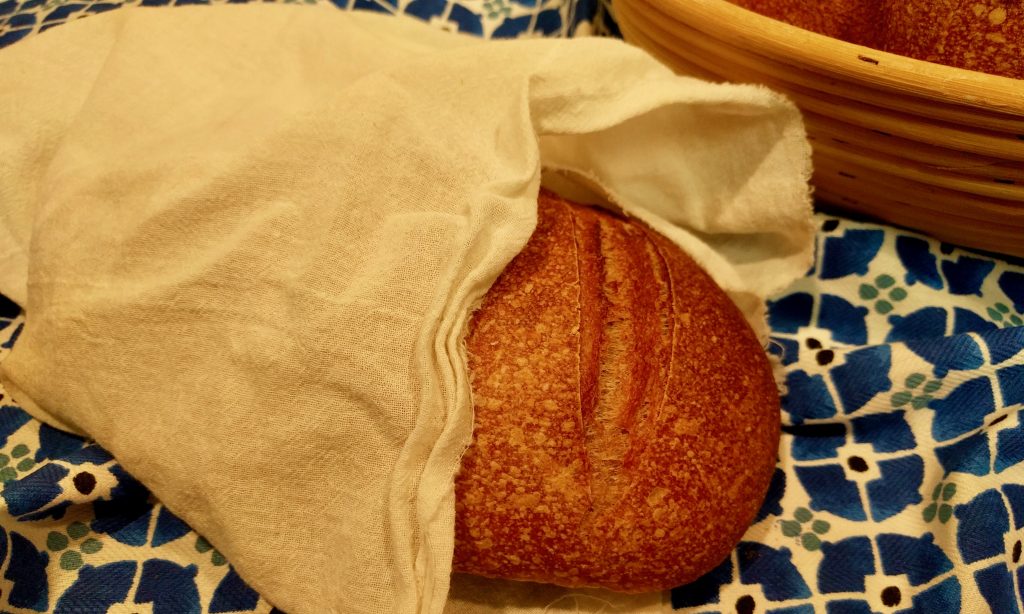
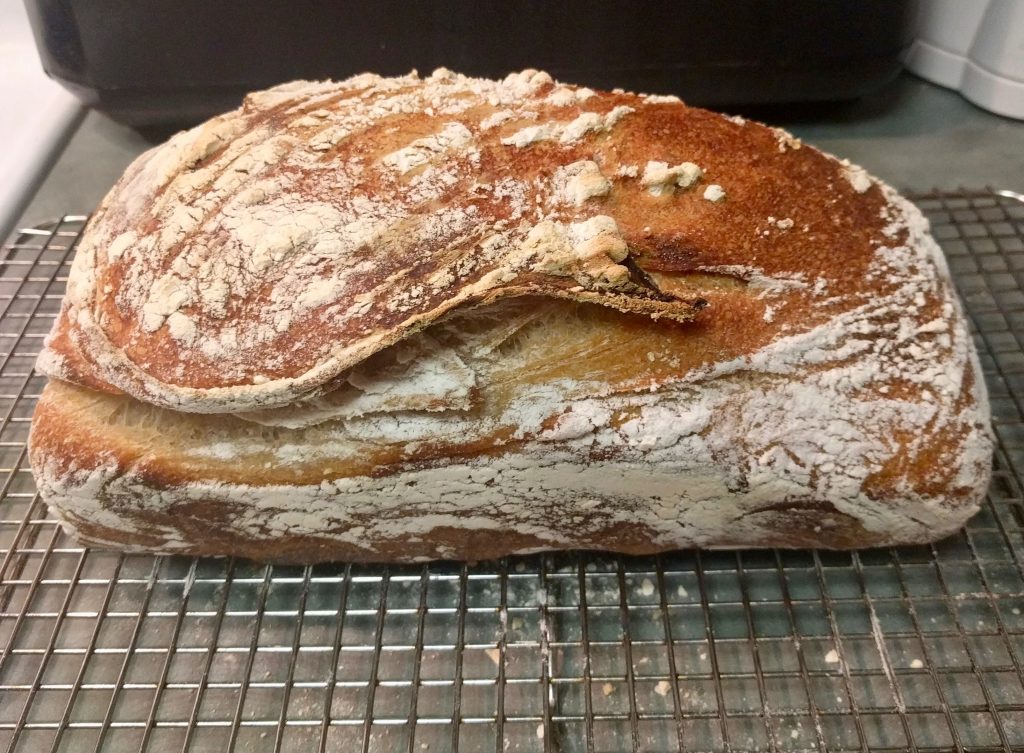
Luckily, my fifth attempt was good. Otherwise I think I would have abandoned all thoughts of sourdough bread baking in the near future. It wasn’t great, though. There was a mishap with the dough getting stuck in the proofing basket, but surprisingly it resulted in the pretty swirly pattern you see in the photo here.
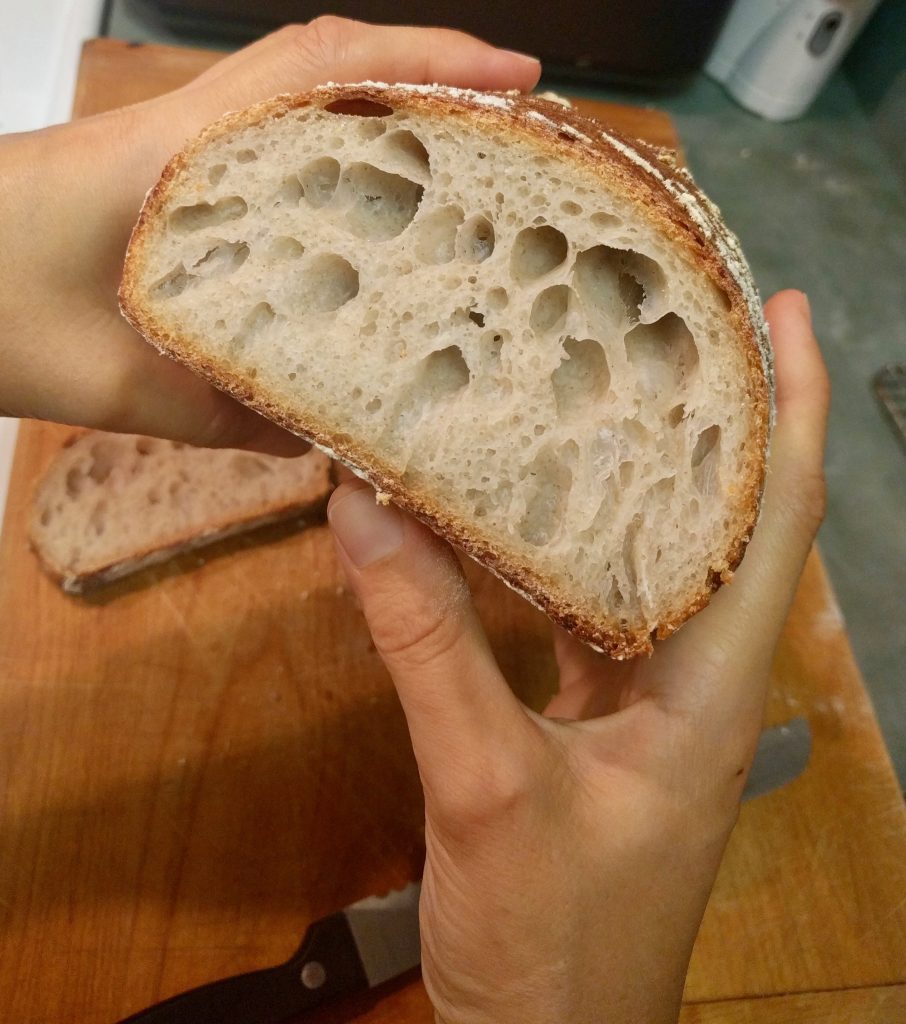
There was also a problem with the texture. This time, thought the dough clearly rose, something was off with the texture nonetheless, and you can see that the air pockets are a bit too uneven in size.
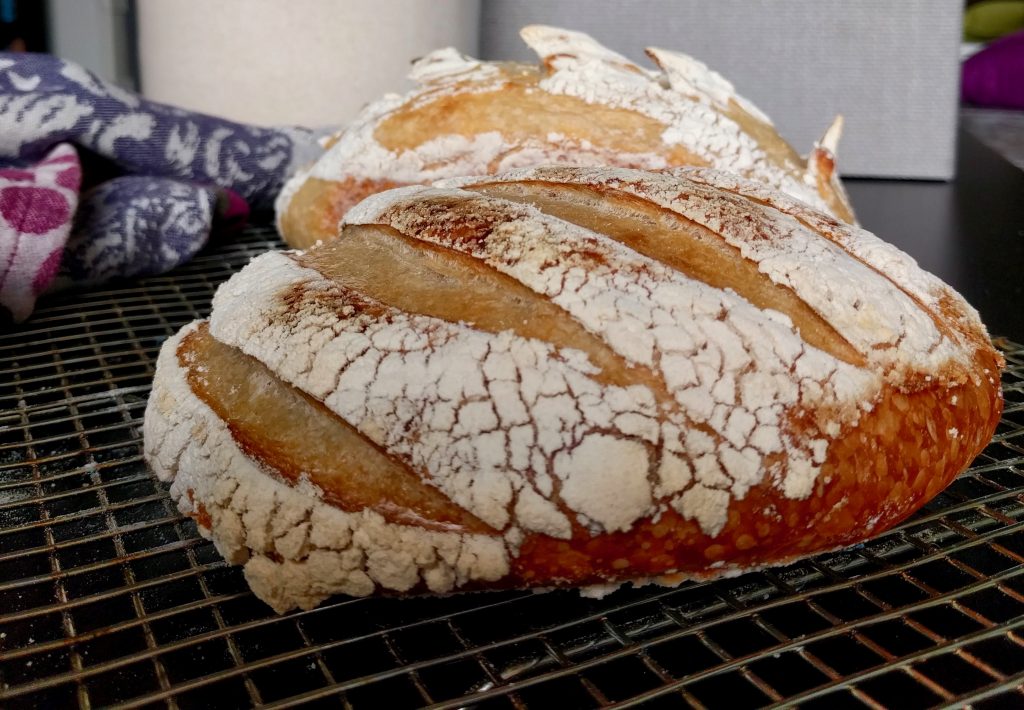
Thus, on the assumption that my problems stemmed from problems in the proofing phase, I decided to add some yeast to my next dough, as a safety measure. This time, I followed a bread recipe from the baking book of Danish Cook Claus Meyer. The breads rose, had excellent crusts, but as you can see the irregular air pockets remained.

It isn’t exactly promising, and I don’t exactly know where to go from here. I’m experimenting with adding a bit of sourdough starter to my everyday bread dough, just to get the flavor that I like. I’ll report on how that works out at a later time. But I still really want to improve my ‘pure’ sourdough baking skills.
So if you have ideas, tips and tricks, or the perfect sourdough recipe, please get in touch, I’d love to hear from you.