Almost every person that has ever been to my house has been fed homemade bread. That’s probably because bread is something we almost always have, because I bake so often. But the bread-eaters also tend to respond enthusiastically to the bread-eating, which of course encourages me to bake more often, and there you have it.
To facilitate frequent bread baking, I follow a procedure I learned from the book The New Artisan Bread in Five Minutes a Day by Hertzberg and François. You can find the dough recipe here. When your dough is ready, allow about 1.5 hours for the shaping, rising and baking.
Once you’re ready to bake, follow these steps:
- Get your dough out of the fridge.
- Take a grapefruit sized chunk of dough and place it on top of some flour in a small bowl. Don’t mix the flour into the dough, simply use it to coat the dough so it won’t stick while you’re shaping it.
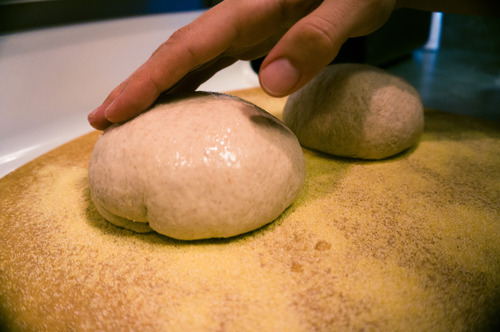
- Place the dough in one of your hands, then use the fingers of the other to fold the dough under itself, like this. Rotate the dough clockwise while you keep folding little sections of dough under themselves, keeping the rest of the folds in place with the other hand. Be careful not to squash the dough. If things start to stick, take some more flour from the small bowl. In about 20-40 seconds you should have a roundish, tight shape with a smooth surface. If the bottom is not smooth, that’s fine, the rising and baking will sort that out.
- Shape as many loaves as you want, and place them on a pizza peel with corn starch/parchment paper, or on a baking sheet.

- If you want to add seeds to the surface of the bread, do this now. First, put a bit of water on the top of the loaves with your fingers to make the surface sticky. Then add the seeds, like this.
- Preheat the oven to a very high temperature. I bake my loaves at as high a temperature as the oven allows (287 ºC).
- Place the pizza peel or baking sheet with the loaves on top of the oven, and leave them to rise for 40 minutes.
- After 40 minutes, the oven should be preheated. At this point, you can slice the surface of the loaves with a knife to allow the steam to escape while baking, like this. Or you can let the crust break where it wants to, for a more rustic look.
- Put your loaves in the oven.
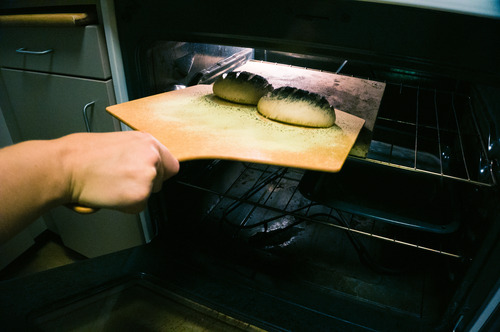
- Optionally, create steam to make the bread deliciously crusty. To do this, you can keep a baking pan, or something similar, in the oven, so that it preheats along with the oven. Then, when you’ve put your loaves into the oven, quickly toss a cup of warm water into the designated pan and close the oven door, like this. I usually repeat this step after 10-25 minutes of baking time.
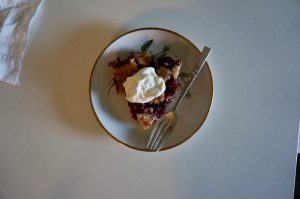
- Bake the loaves for a total of 25-30 minutes, depending on size. You can eat them right away, if you’re tough like my brother. Otherwise, it’s good to wait at least 10 minutes before slicing the bread, because the loaves tend to fall apart in the process otherwise.
So there you have it, easy to make, no-preservatives, fresh baked bread.