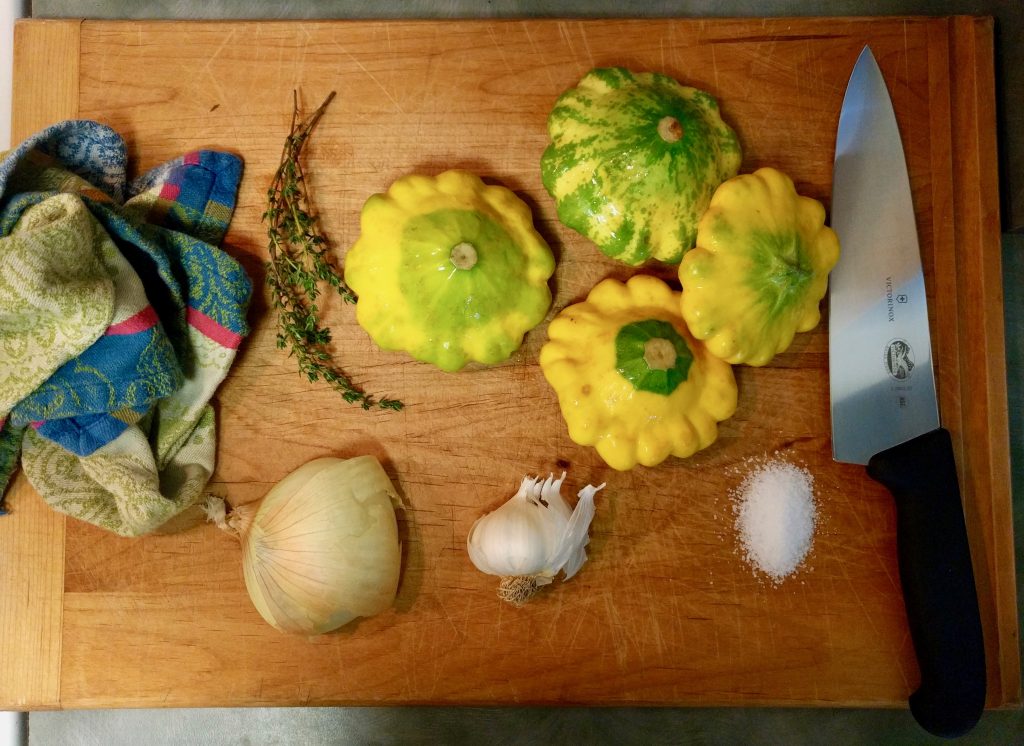
In our last CSA box, we received some really wonderful summer squash, pattypan squash to be specific. I’m a fan of squash and zucchini. They can be used in so many ways, and although they don’t have much flavor they add texture and they have an exciting ability to absorb whatever other flavors are in the dish.
With some of these squashes, I made a spread. I got the idea from this recipe from the kitchn. The first time I made it, it was with zucchinis, so it was a zucchini spread. This time, it was a summer squash spread, and this time, you’ll get the recipe. I imagine this recipe will work for a variety of summer squash, but I noticed a difference in how much the zucchinis softened compared to the pattypan squash, so you’ll want to keep an eye on that in the process of making this spread.
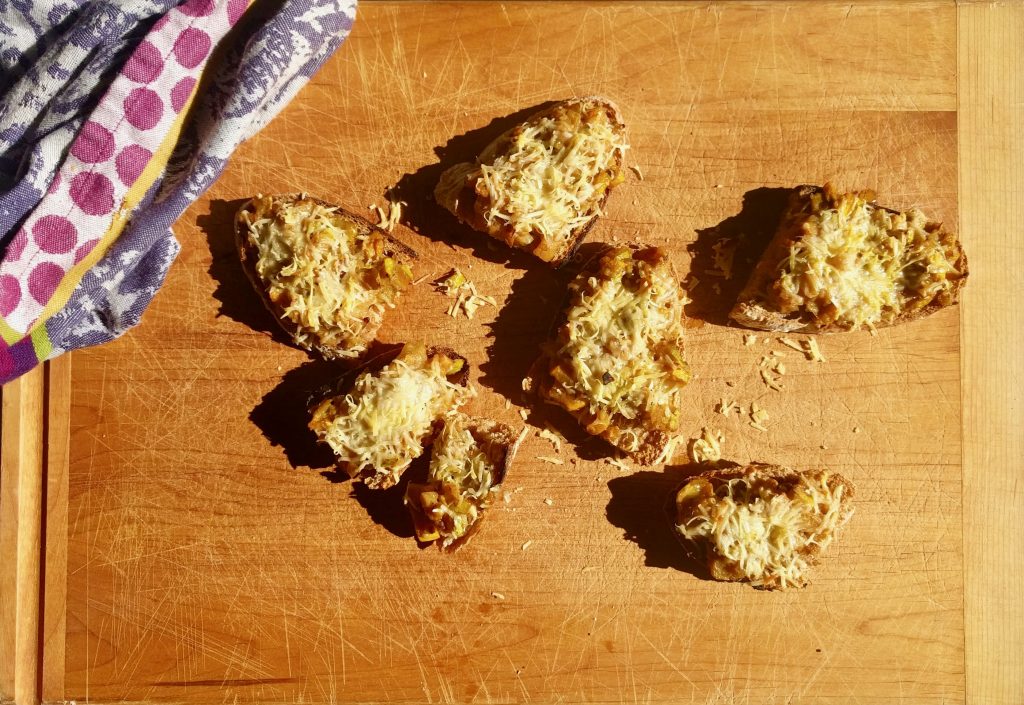
The spread is summery, lemony, and very versatile. I’ve used it in sandwiches and pasta, and I think it would be excellent on a pizza, but so far, my favorite thing to use it for is crostinis.
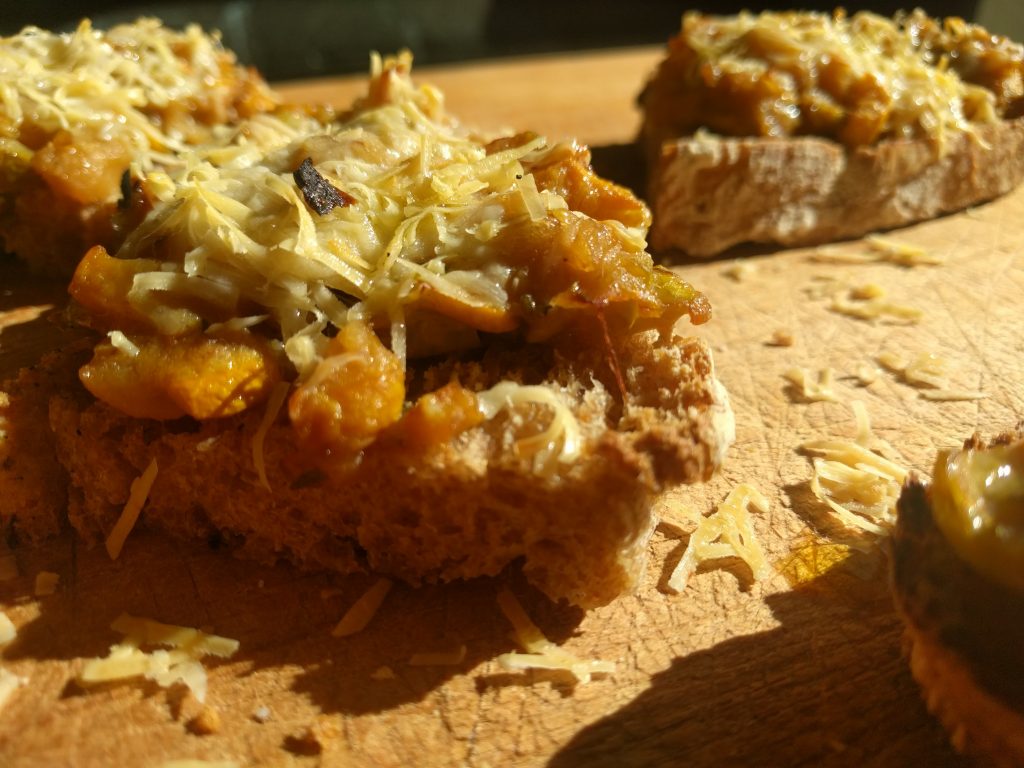
Just lightly toast some pieces of bread, add the spread, some grated cheese and perhaps a touch of olive oil and a pinch of salt. Then bake the crostinis in the oven until the cheese starts to turn golden (or alternatively until you can’t wait anymore).
According to the kitchn recipe, this spread will keep for about a month in the fridge. I wouldn’t know. Mine was gone within a week. The point is that you can make a lot of spread all at once and then sprinkle it across your cooking for a while. The recipe below yields about 4 deciliters (~1 pint) of spread.
Summer Squash Spread
Ingredients
- 650 gram summer squash
- 1/2 onion (medium)
- 2 tbsp olive oil
- 1 sprig of thyme
- 2 cloves of garlic
- 1 tsp salt
- 1/2 lemon (juice and zest)
- water
Instructions
-
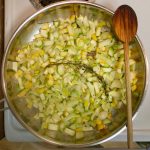
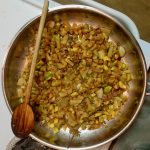
Finely chop (or roughly grate) the squash, onion and garlic. Heat some oil in a skillet over medium-low heat.
-
When the oil is hot, add the vegetables and the thyme (stems and all) and let everything brown for 8-12 minutes. Scrape the bottom of the skillet when things begin to stick so it doesn't burn.
-
Lower the heat a bit. If the skillet seems dry, add water, one deciliter at a time. Let the mixture cook for another 10-15 minutes, stirring and scraping occasionally.
-
At this point, check the softness of the vegetables by squeezing them with the back of a spoon. If they are still firm and do not begin to smash when you squeeze, let them cook for another 5-10 minutes.
-
When the vegetables are soft, remove the stems of the thyme (most of the leaves should have detached from the stem by this point). Mix in the salt, lemon juice and lemon zest, then use the back of a spoon to smush everything together. If you're not getting to a spread-like texture, add water a little bit at a time. Taste and adjust the seasoning if necessary.

-
Take the spread off the heat. You can serve it immediately, or store it in a container in the fridge.